Burnishing Pads

Limestone Floor Renovation Coggeshall

Acid Etched Limestone Tiled Floor Renovated in Coggeshall

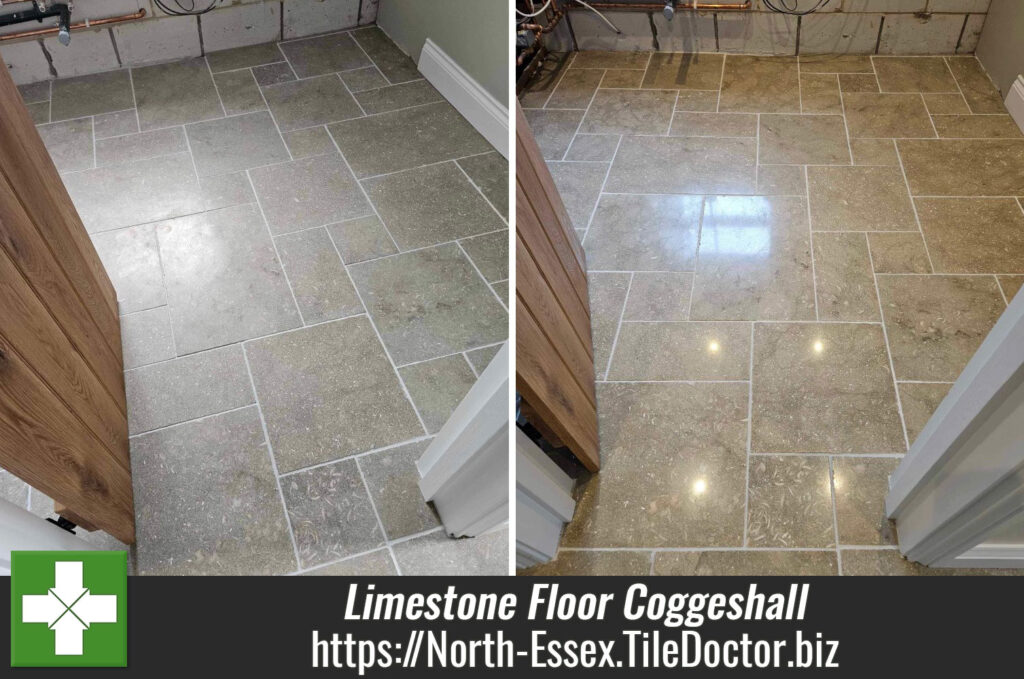
This Limestone tiled floor covered the entire ground floor of this house in the town of Coggeshall. The owner had matching tiles installed in an extension and realised that the tiler had not managed to polish off all the grout which had left them dull.
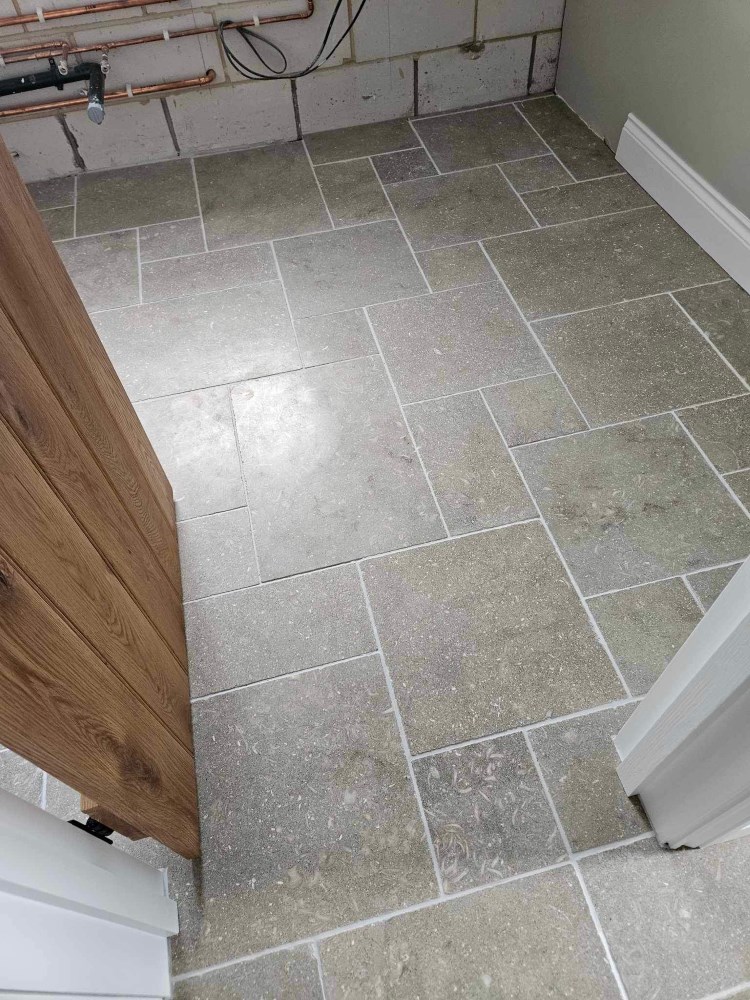
Limestone Floor Before Renovation Coggeshall

This is a common problem known as grout haze and after researching it online he decided to try cleaning off the grout with an acidic product. This is a common solution for more robust stone or tiles; however, Limestone is acid sensitive so instead of removing the grout haze he made the problem worse by etching the stone tiles instead.

The second problem he had was the grout on the original floor had darkened overtime with dirt being washed into the grout line whereas the grout on the new floor was much cleaner. You can see from the photos how odd this looked especially when moving between the two areas.
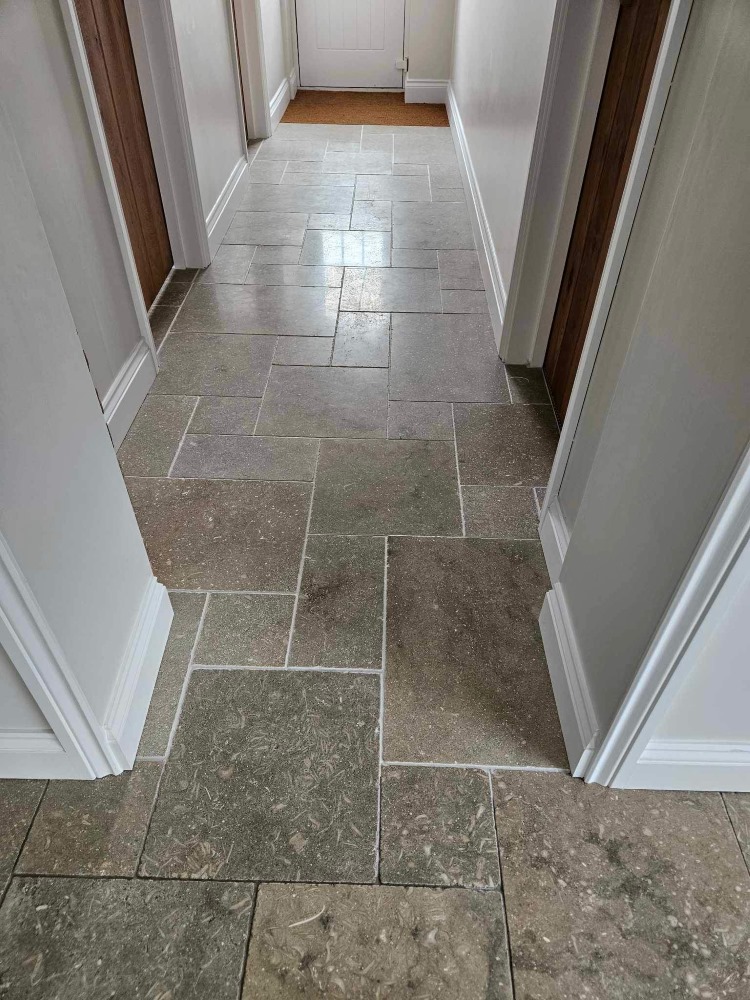
Limestone Floor Before Renovation Coggeshall

I was asked to deep clean the original grout, remove the grout haze on the new floor and then get the two floors to match as much as possible by polishing both floors (which would also remove the etching) and applying a fresh sealer. I worked out a quote based on three days’ work along with the necessary products, given the size of the floor I asked Bruce who is the Suffolk Tile Doctor to assist.

Grout and Limestone Tile Cleaning

To remove the old sealer and clean up the grout on the original floor, a strong dilution of Tile Doctor Pro-Clean was applied to the tiles and worked in with a black scrubbing pad fitted to a rotary floor machine. The grout was then scrubbed by hand with more Tile Doctor Pro-Clean and the slurry rinsed off with water. There was a lot of grout lines to cover and in-total we used around five litres of Pro-Clean in the process.

Both original and new sections of floor were then burnished with diamond pads to blend the two floors together and remove the etching on the newly laid tiles in the process. This was done with a set of Tile Doctor Burnishing Pads starting with 400-grit and working up to 1500-grit, water is used for lubrication and then the floor rinsed and extracted after each pad. The floor was left for a short while to dry out.

Again, this was a large area but with two Tile Doctors on the job we managed to get through it.

Sealing a Limestone Tiled Ground Floor

To seal the Limestone the owner was happy to go with my recommendation of applying Tile Doctor Colour Grow. This product contains a colour intensifying formula which brings out the different colours and fossils in the stone. It’s also an impregnator which works by soaking into the pores of the Limestone, filling up the spaces and thereby preventing dirt from becoming ingrained in the stone. Put simply, the sealer will ensure any dirt remains on the surface where it can be easily cleaned away. It was a large area so we used five litres of Colour Grow to seal the floor.
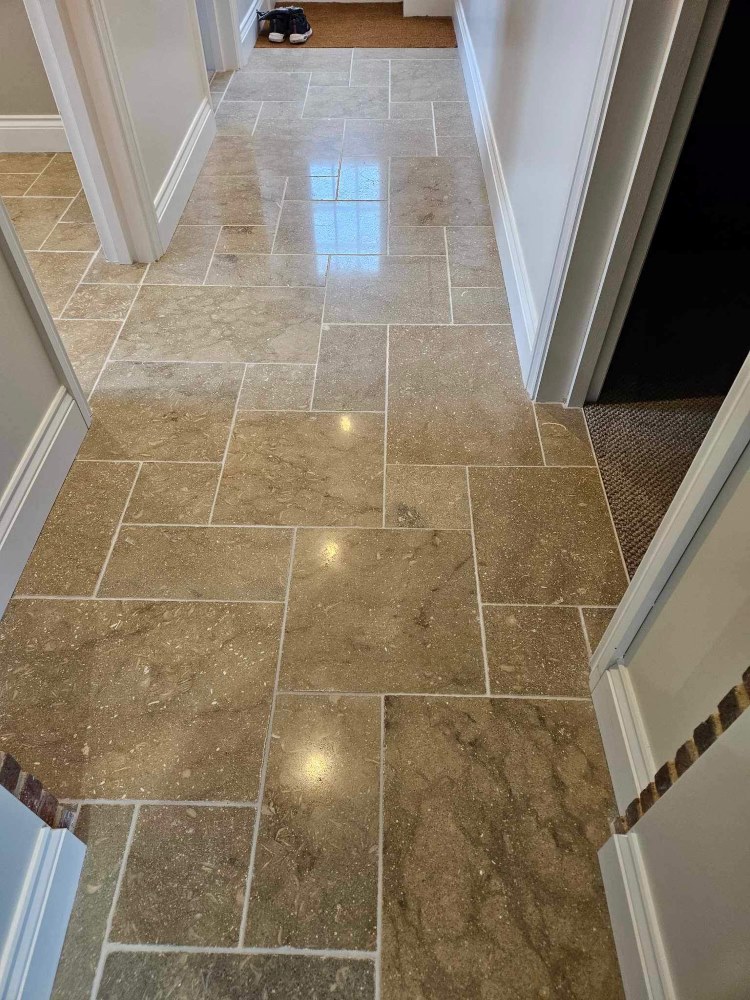
Limestone Floor After Renovation Coggeshall

The work took both of us three days to complete and once done my client was amazed by the transformation and was so happy that the two floors now looked the same. For aftercare I left them with a free bottle of Tile Doctor Neutral Cleaner to maintain their floor. This product is a gentle yet effective tile cleaner that won’t harm the newly applied sealer which can be an issue with stronger products.
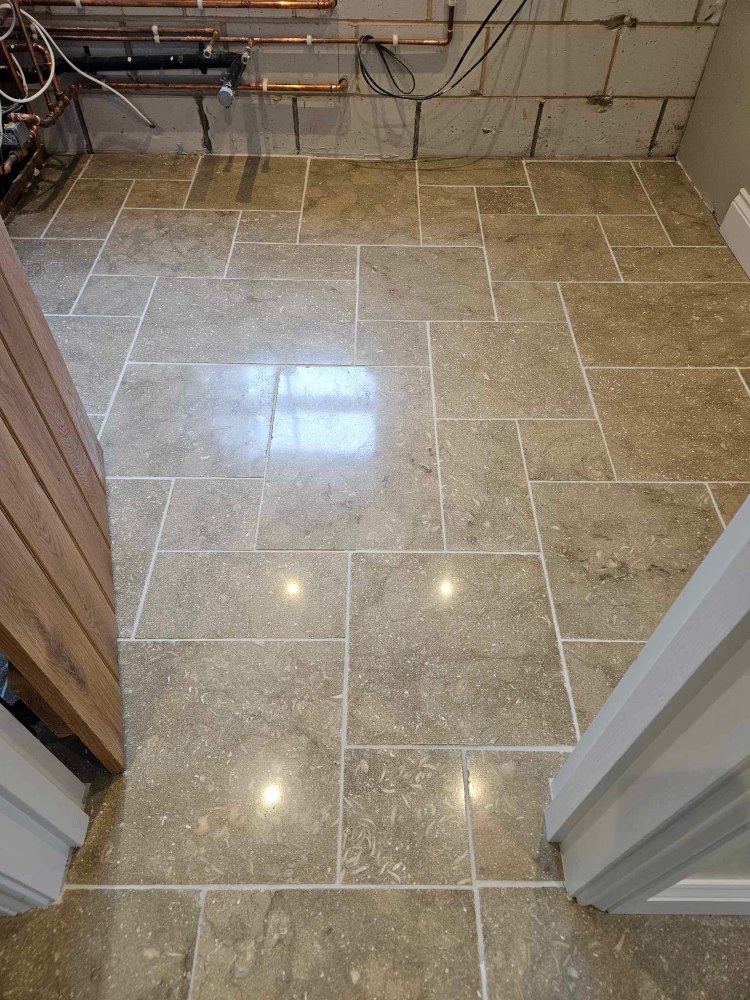
Limestone Floor After Renovation Coggeshall


Professional Restoration of a Limestone Tiled Ground Floor in Noth Essex

Acid Etched Limestone Tiled Floor Renovated in Coggeshall Read More »

Encaustic Tiled Bathroom Floor Renovation Saffron Walden

Encaustic Tiled Bathroom – Saffron Walden, Essex

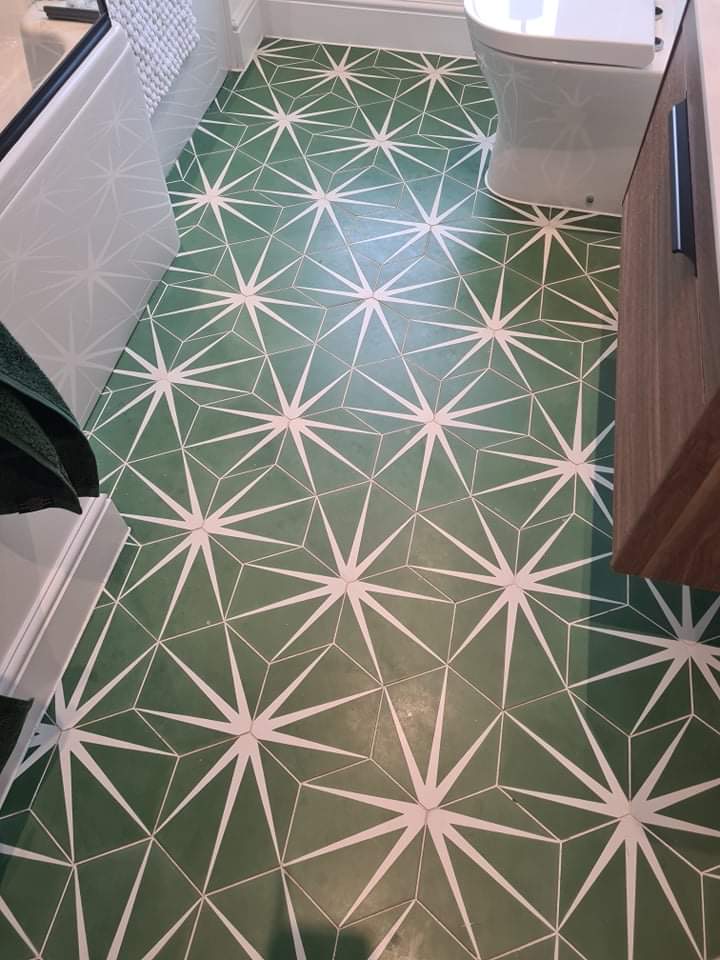
This modern Encaustic tiled floor had been laid in the bathroom of a house in Saffron Walden about a year prior to my visit. It was now beginning to mark easily and its appearance had diminished, additionally my customer was finding it hard to keep clean. All these issues are classic symptoms of the sealer wearing down, so I recommended giving the floor a deep clean with burnishing pads and then resealing. It was only a small floor so the process should only take a day.

Encaustic Tiled Bathroom Floor Before Cleaning Saffron Walden

Modern Encaustic tiles are very popular these days due to the spectacular colours and patterns available and they do look great in smaller areas such as bathrooms. Many varieties do require you to maintain the sealer though and this requirement is often overlooked when being sold. This is not usually a problem when used to create a wall feature, however when installed on a floor you can expect the sealer to wear down with foot traffic. Once the sealer wears down it allows dirt to become ingrained in the tile and this becomes difficult to remove, thereby making the floor difficult to keep clean.

Another problem we find with sealed tiles in bathrooms and kitchens is the use of bleach-based cleaning products, the products are very strong and will quickly erode the sealer with regular use leaving the tiles vulnerable. This is why we always recommend the use of pH neutral tile maintenance products such as Tile Doctor Neutral Tile Cleaner.

Cleaning an Encaustic Tiled Bathroom Floor

To resolve the problem, I started with the application of a coarse 400-grit burnishing pad fitted to a rotary machine and lubricated with water. The floor was just big enough to squeeze the buffer machine in, and it made quick work of removing what was left of the old sealer and ingrained dirt. After a rinse with more water, the soiling was extracted with a wet vacuum and I repeated the process with the 800 and 1500-grit pads, rinsing and extracting after each pad. These pads gradually refine the tile and slowly build-up a polish on its surface.

Finally, I moved onto the very fine 3000-grit pad which is applied with only a mist of water sprayed onto the surface to bring up the final polished appearance. This last pad has the added advantage of leaving the tiles fairly dry, however, just to be sure I installed a couple of down blowers to fully dry out the floor before sealing.

Sealing an Encaustic Tiled Bathroom Floor

The blowers worked well, and I was able to seal the floor later that day using four coats of Tile Doctor Colour Grow using around a litre of sealer. This is an impregnating sealer that works by soaking into the tiles, where it occupies the pores to prevent dirt from becoming ingrained there.

Encaustic Tiled Bathroom Floor After Cleaning Sealing Saffron Walden

The appearance of the encaustic tiles now looks great with a nice even, easy to maintain sheen. I also left them a free bottle of Tile Doctor Neutral Tile Cleaner to maintain their floor after we had finished.


Professional Restoration of an Encaustic Tiled Bathroom Floor in North Essex

Encaustic Tiled Bathroom – Saffron Walden, Essex Read More »

Scroll to Top